
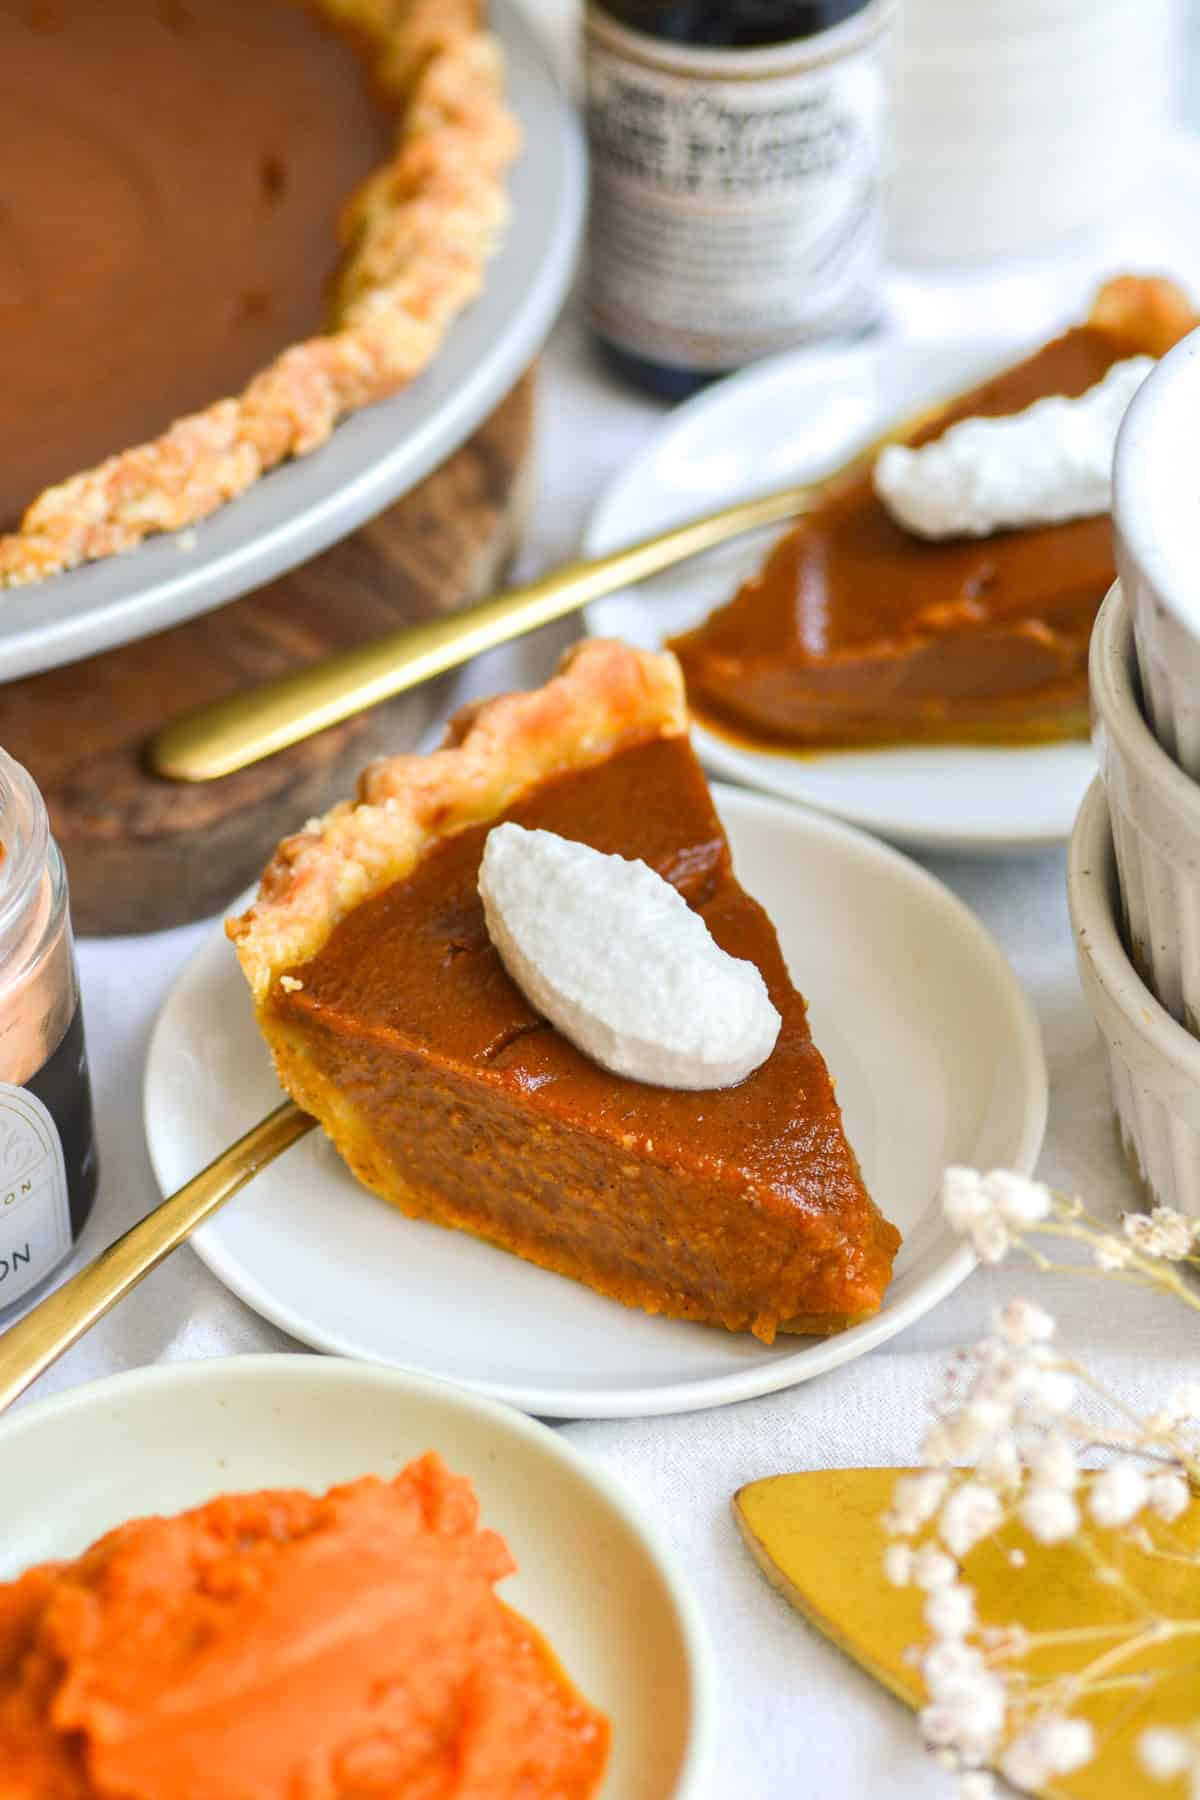
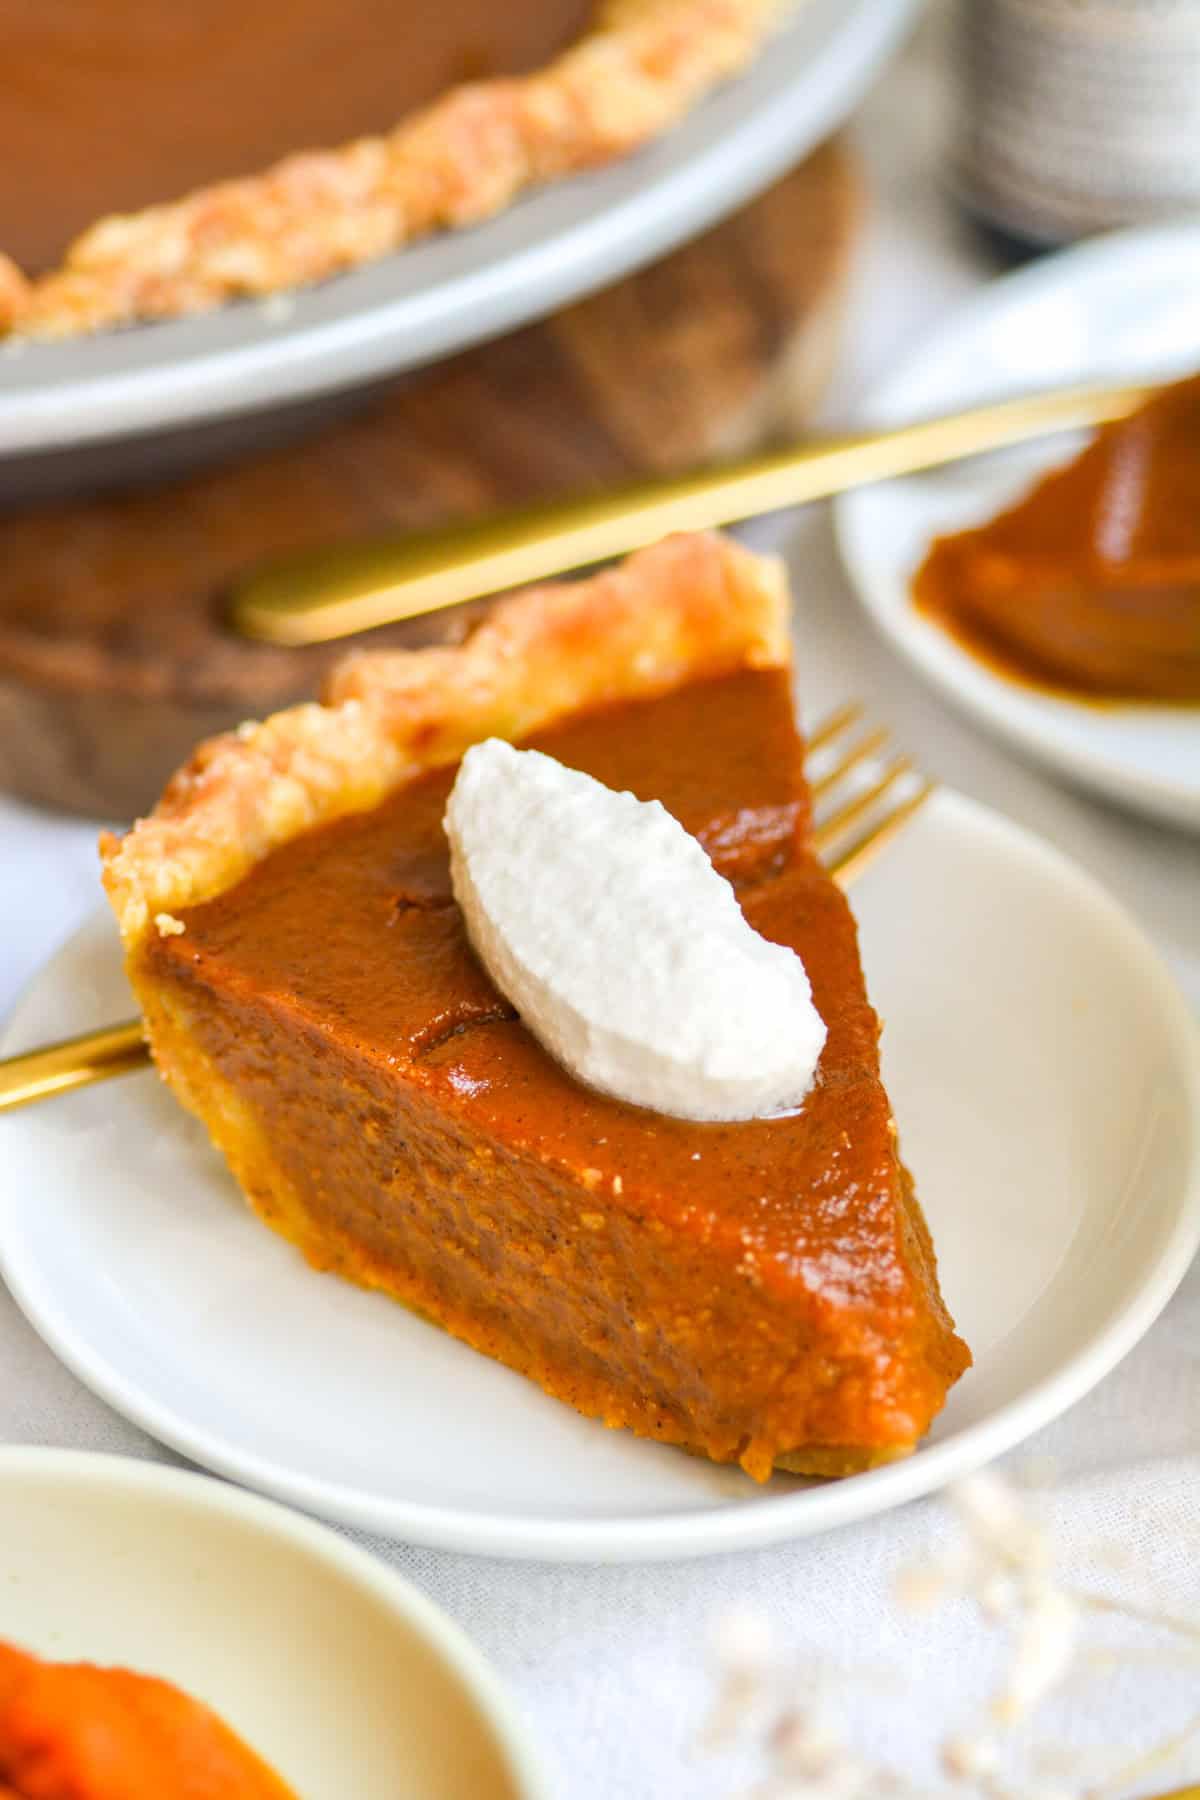
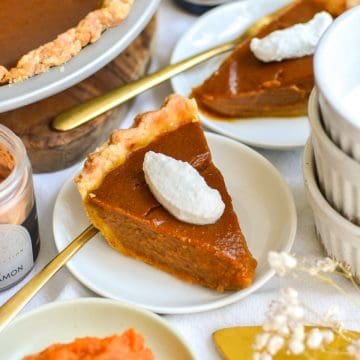
This Vegan Pumpkin Pie is rich, creamy, and packed with spices and pumpkin puree. And it is surprisingly easy to make. This is the perfect pie recipe for Thanksgiving!
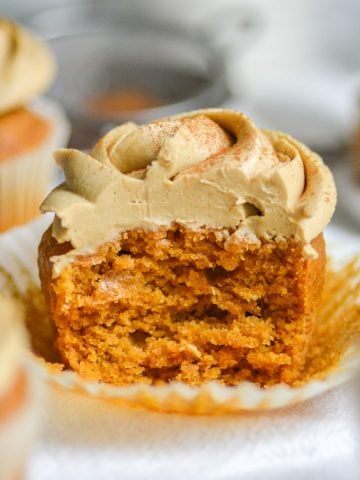
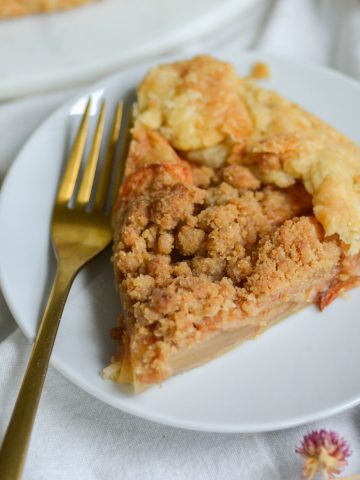
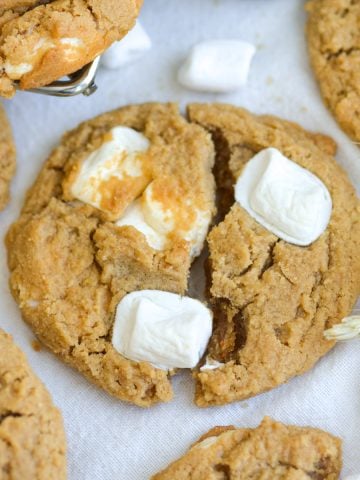
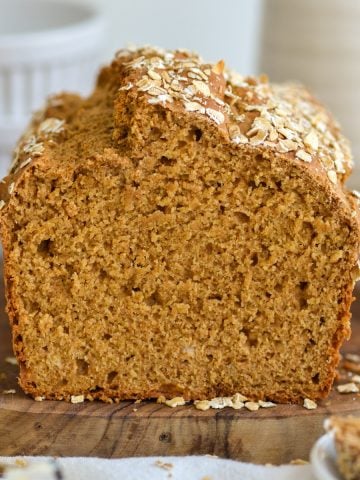
I have added so many new and delicious Fall recipes to Earthly Provisions in the last few weeks! Fall is baking season, and I love baking. So, I wanted to make sure all of the Autumn classics like Vegan Pumpkin Bread, Vegan Apple Pie, or Vegan Pumpkin Cookies were here for you to bake as soon as it starts to cool down.
Nothing is more classic than a Vegan Pumpkin Pie. And my version is just as rich, smooth and creamy as the recipe you grew up eating! It is easy to make and is packed with pumpkin pie spices and pumpkin puree, and is the perfect centerpiece for your Thanksgiving table! So, let's make it.
Jump to:
Why You'll Love This Recipe
- This recipe requires simple, easy-to-find ingredients.
- It is rich, creamy, and so flavorful!
- This Vegan Pumpkin Pie is also dairy-free and egg-free, so anyone can enjoy it.
- You need no special equipment to make it.
- And most importantly, it is absolutely delicious!
Ingredients
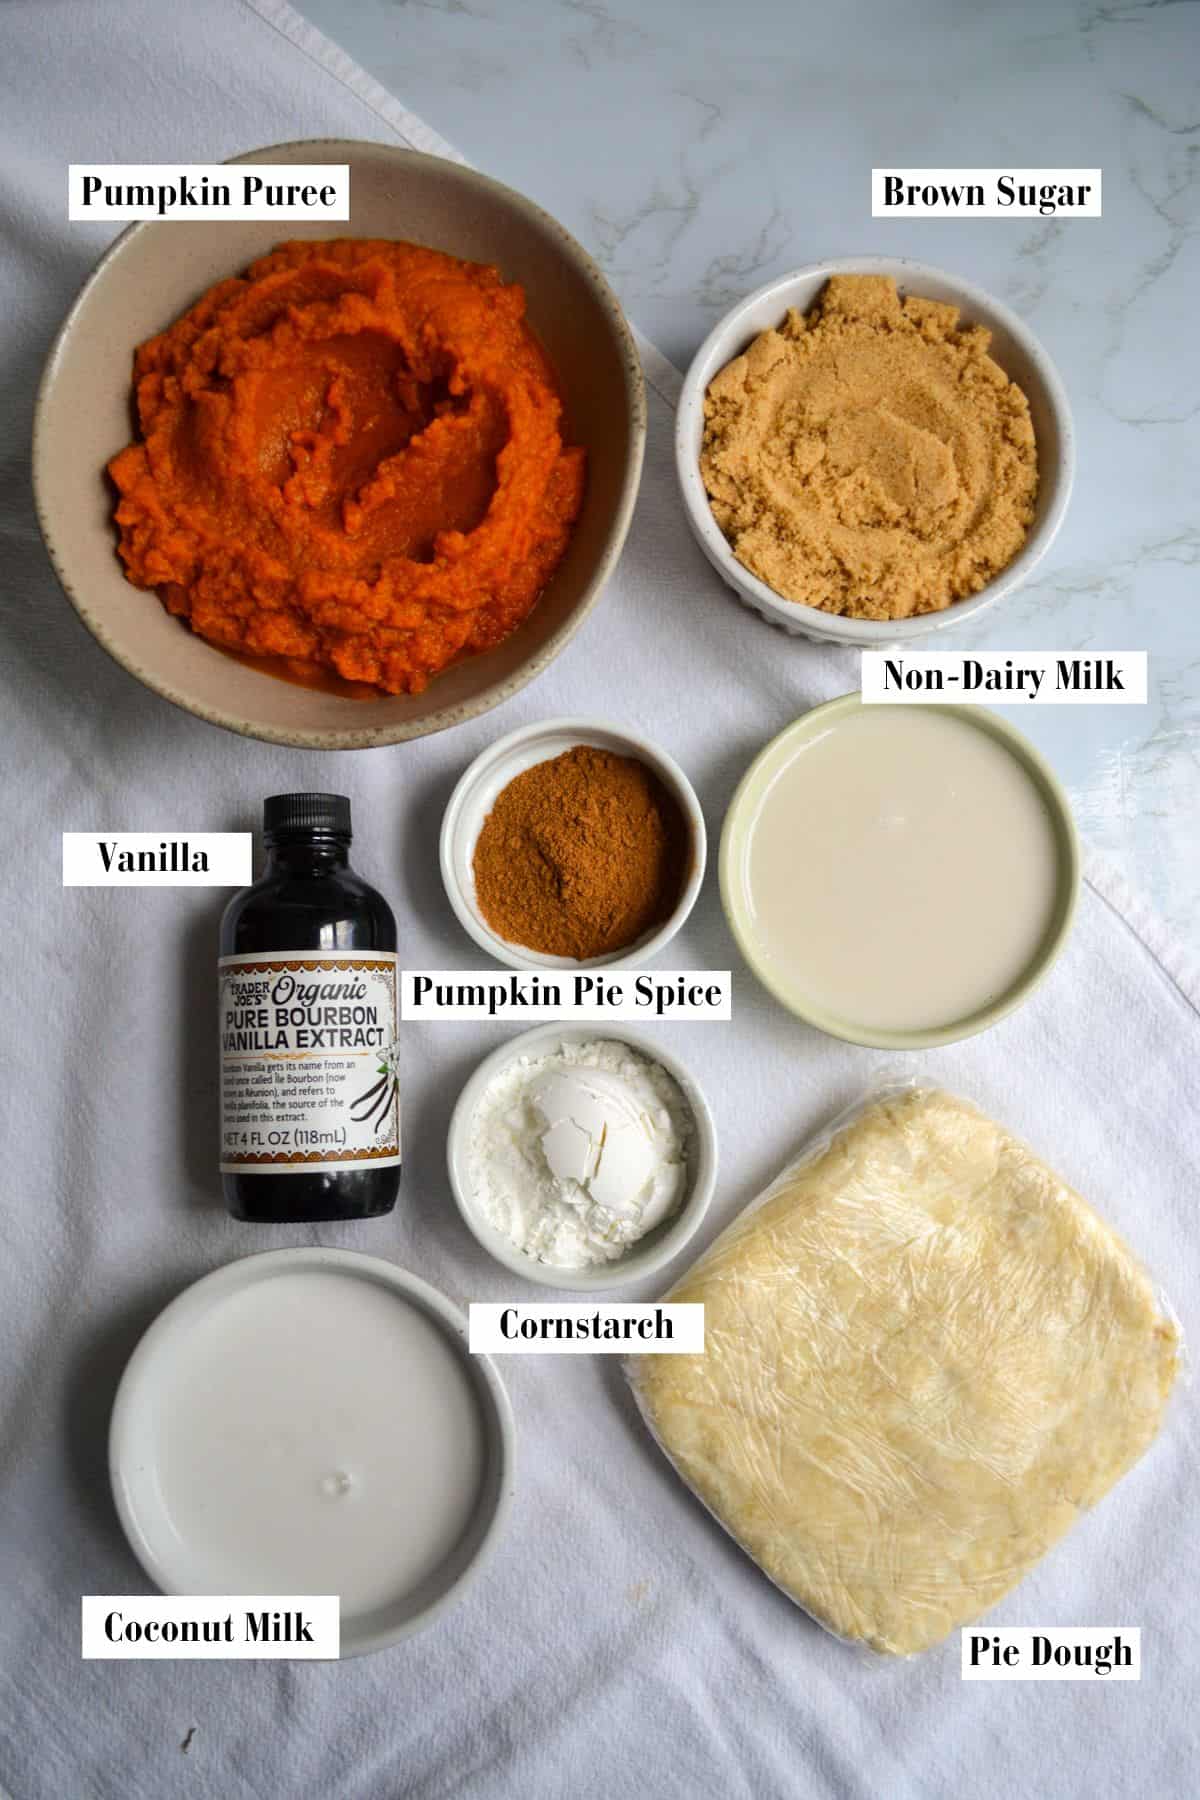
Pumpkin Puree: My favorite is Libby's pumpkin puree. It is thick, flavorful and easy to find.
Coconut Milk: Use a full-fat canned coconut milk for a rich and creamy vegan pumpkin pie. I like Thai Kitchen because it is always smooth.
Non-Dairy Milk: I like to use another non-dairy milk so the pie doesn't taste like coconut. I used oat milk, but you could also use almond milk or soy milk.
Pumpkin Pie Spice: I always keep a jar of premixed pumpkin pie spice in my cabinet for easy pumpkin recipes all Fall!
Pie Dough: I used my Vegan Pie Crust recipe. My recipe makes two 9-inch pie crusts, so freeze one for another pie! You can also use a store-bought crust.
Special Equipment
If your coconut milk has small, hard lumps in it, you need to blend the filling.
You also need a 9" pie plate. Mine is 1 ¾ inches deep.
You need pie weights or just plain old white rice to parbake the crust.
Instructions
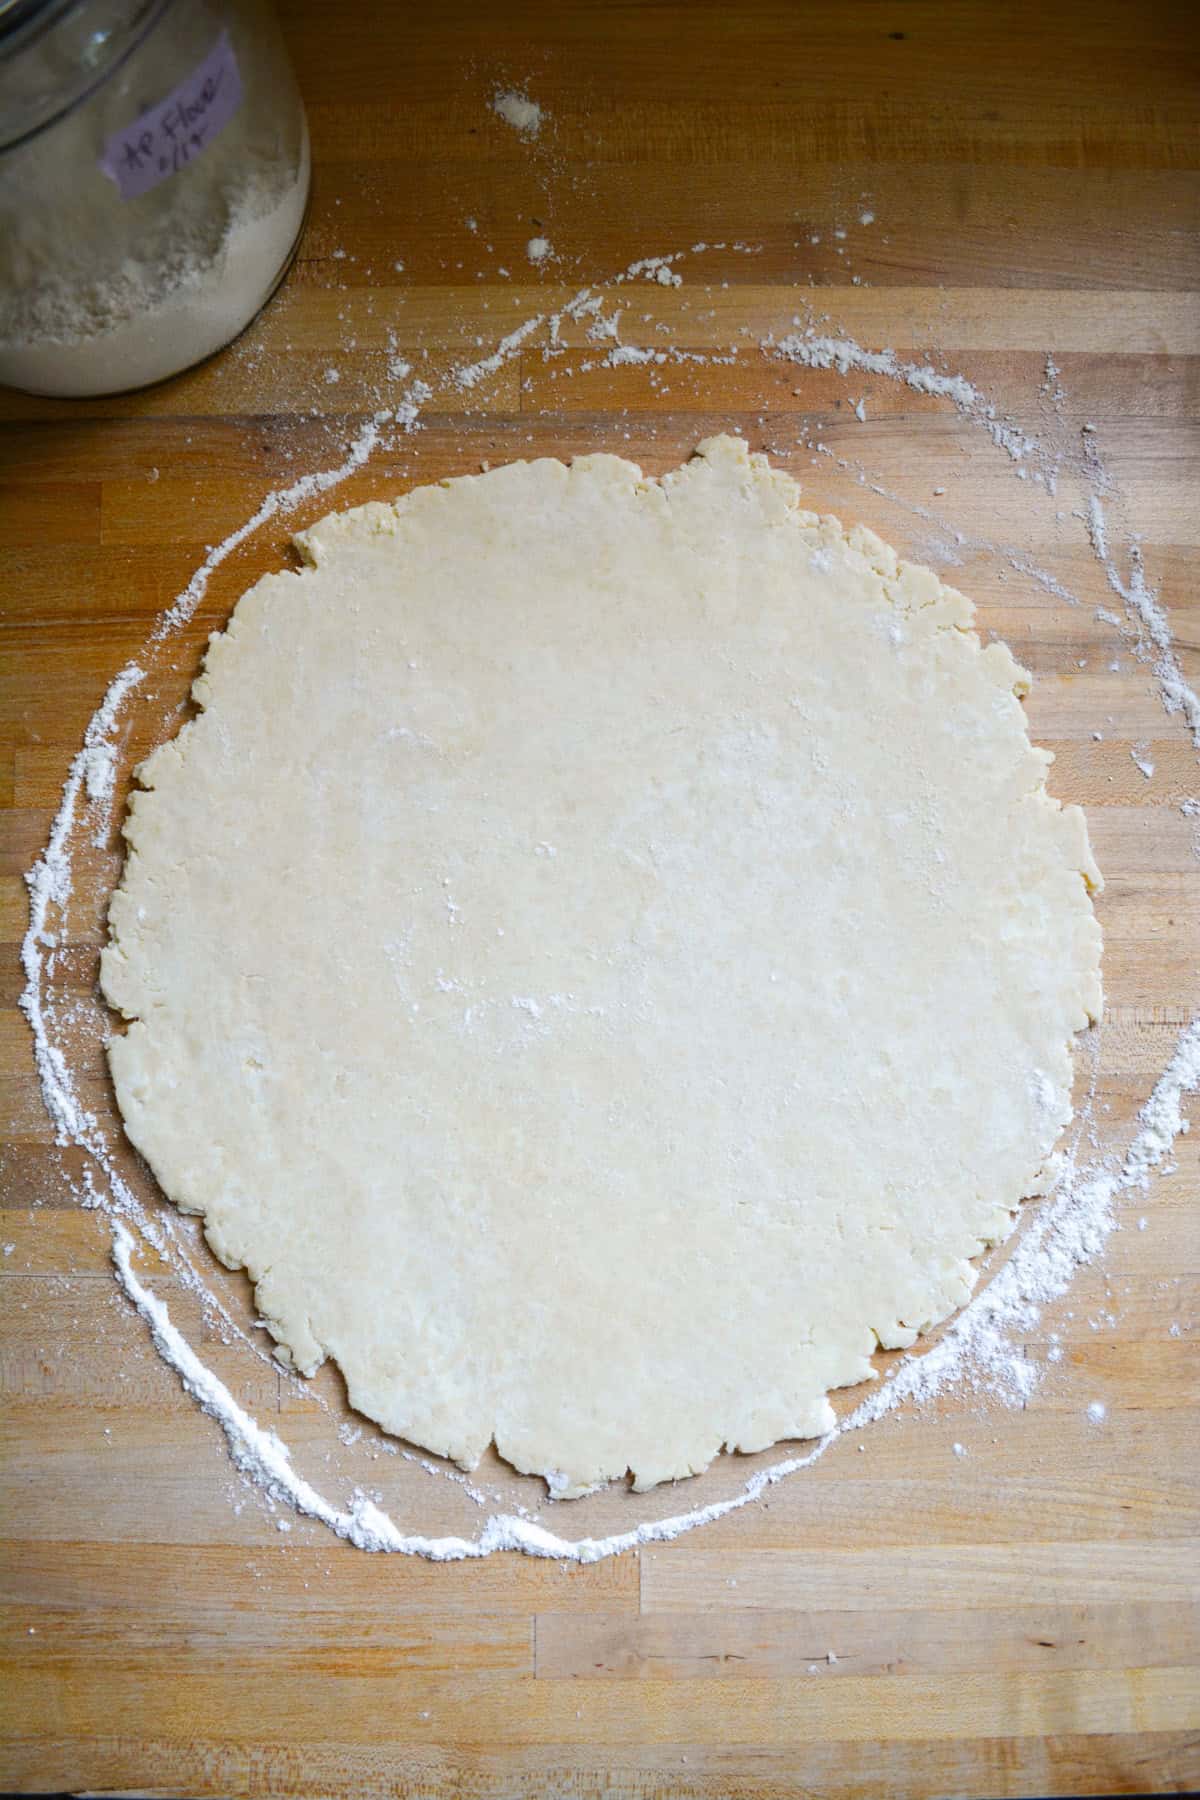
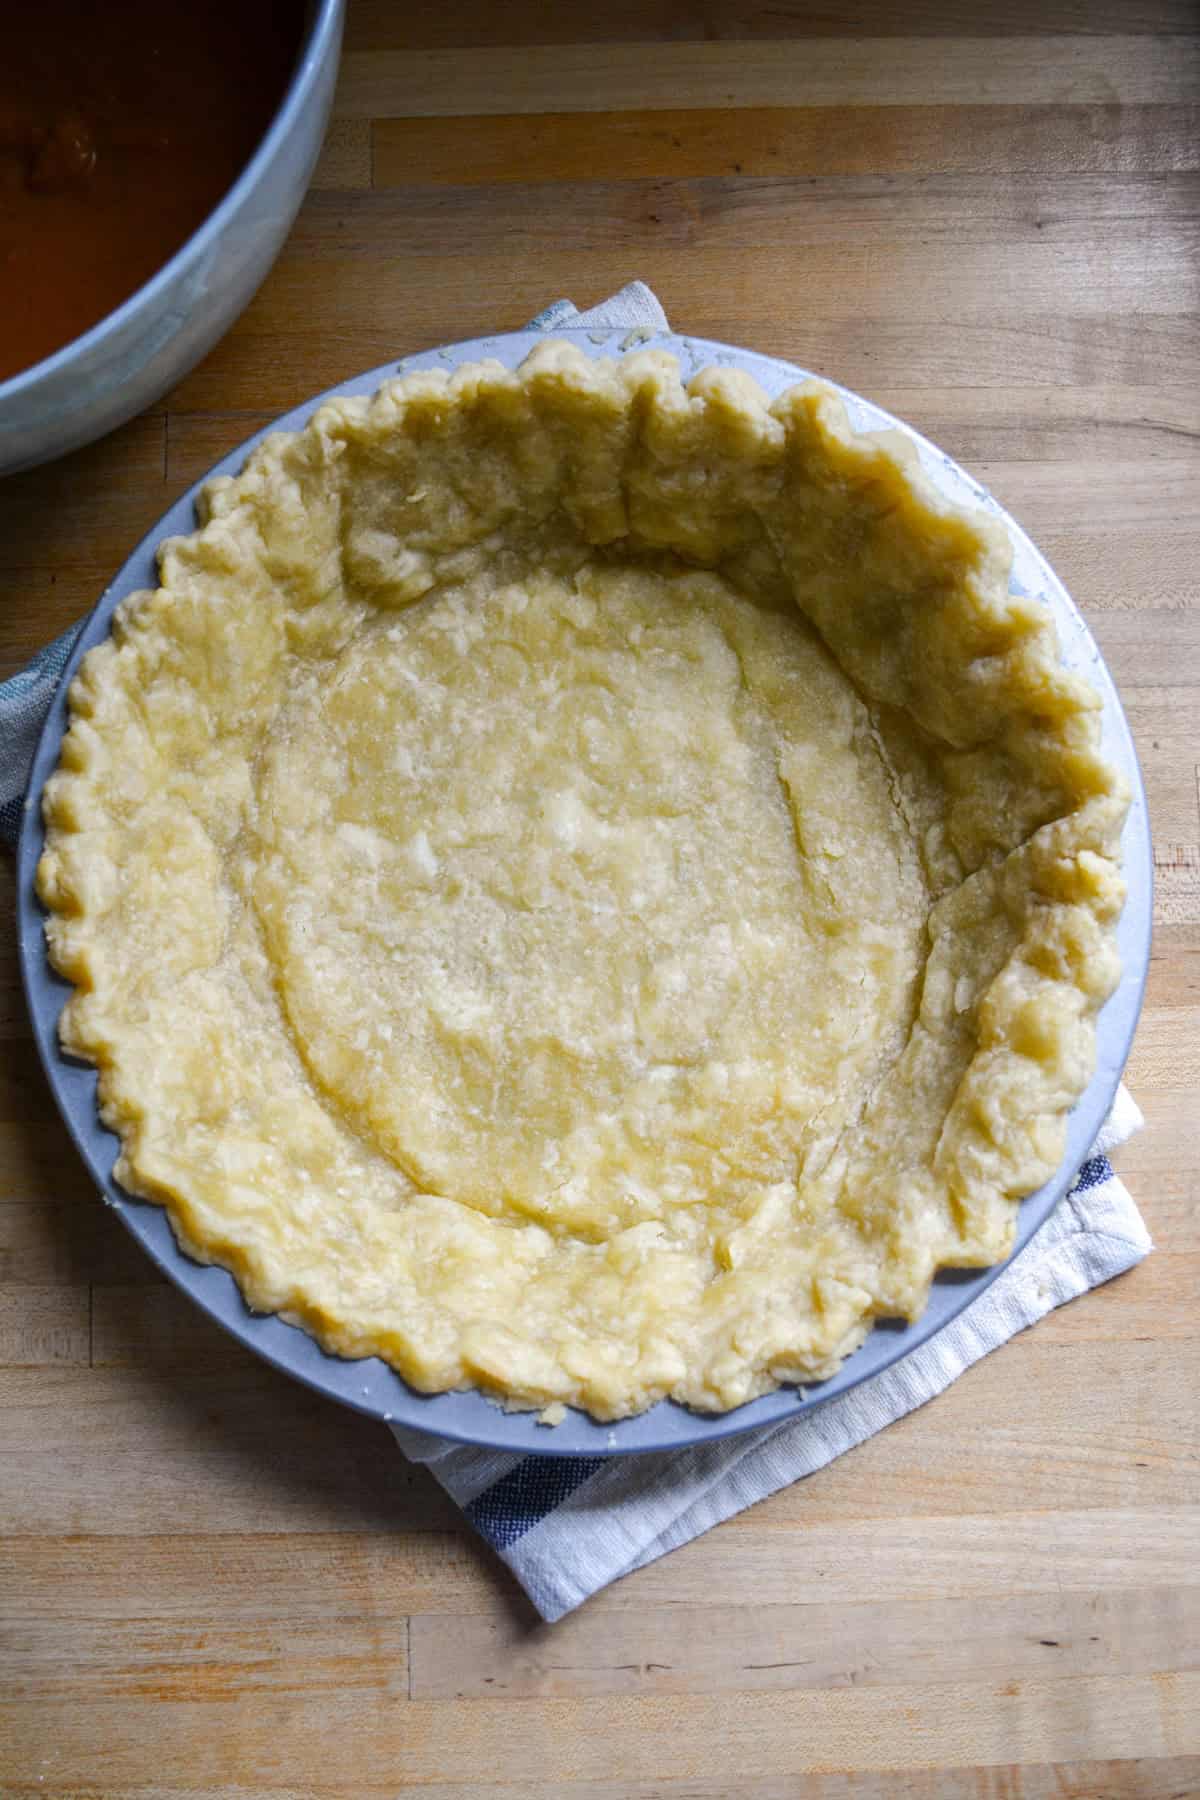
Step 1. First, lightly flour a work surface and a rolling pin. Roll the vegan pie dough into a circle with a 12" diameter.
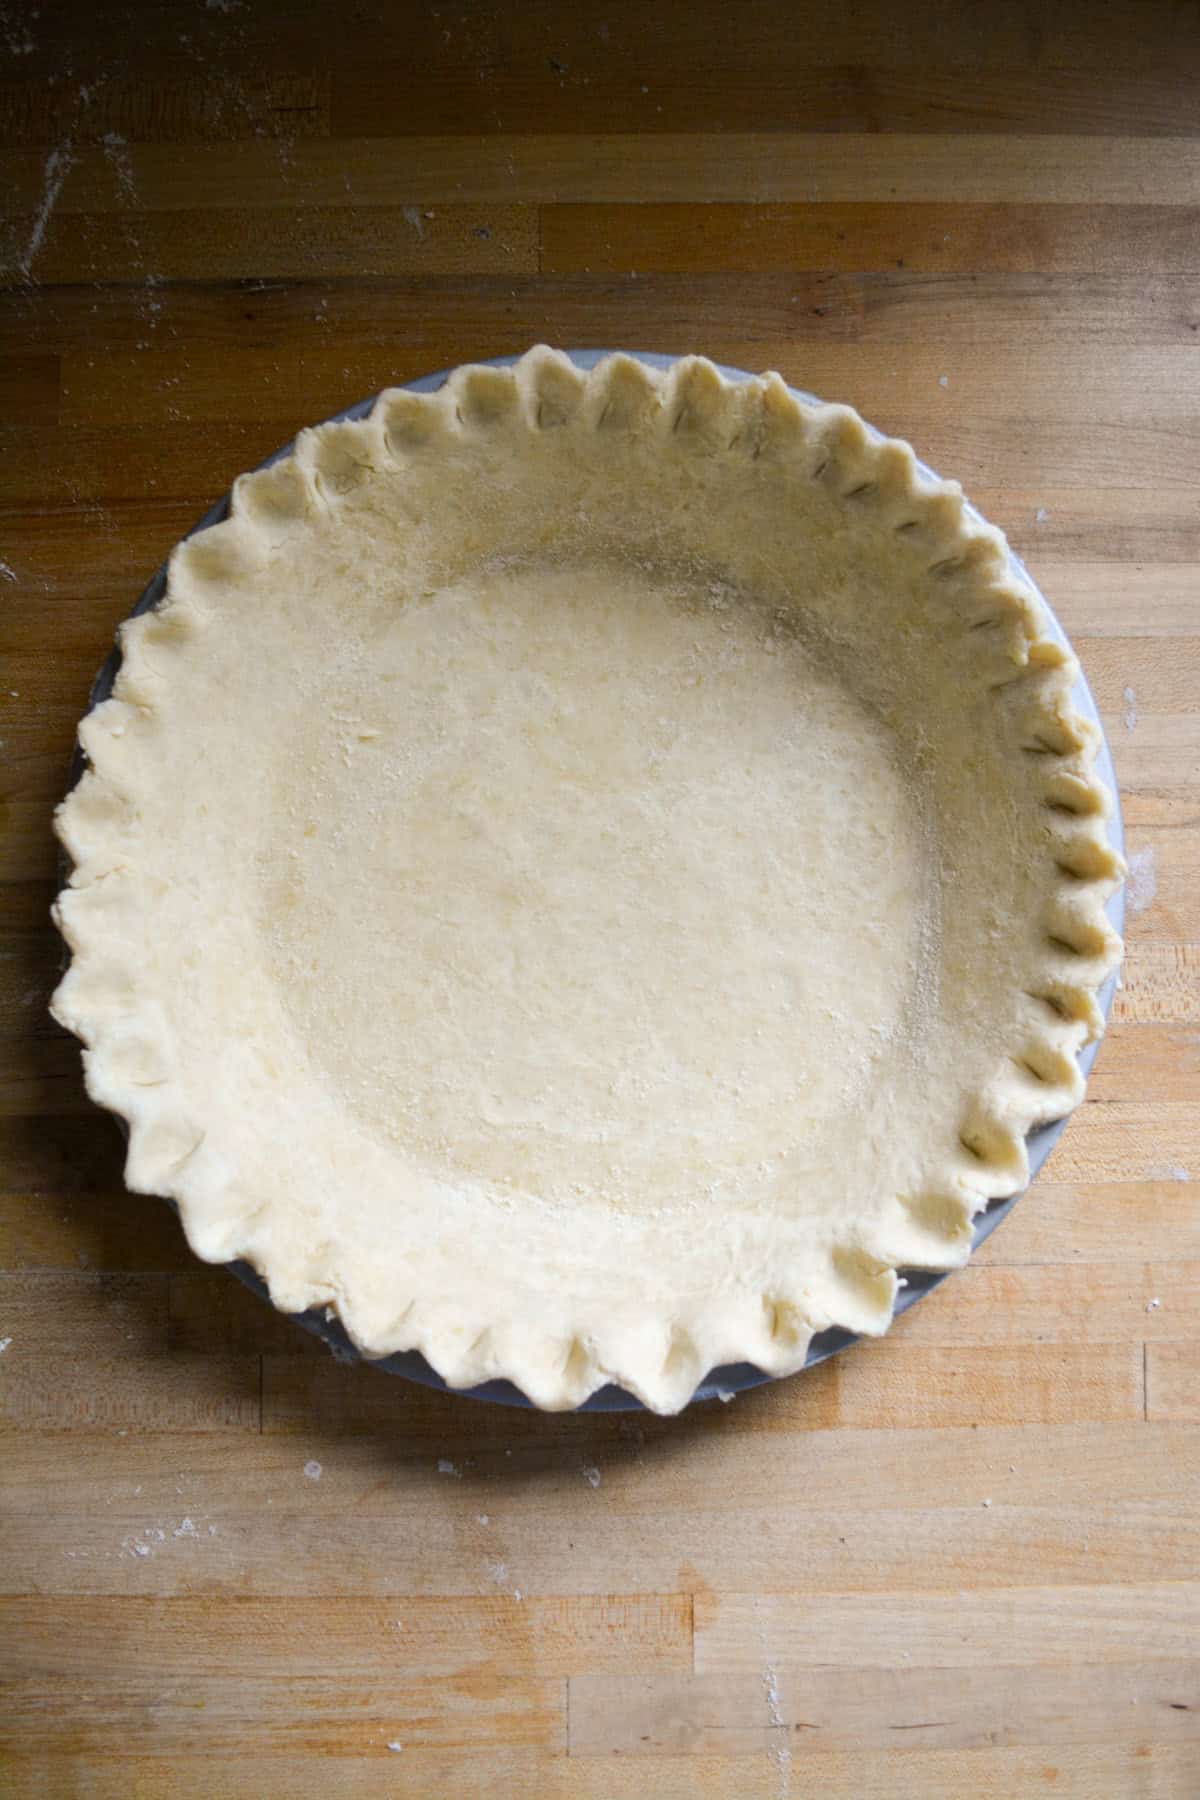
Step 2. Place the pie dough into a 9" pie plate, tucking the dough into the bottom corners.
Fold the edge under itself, and use your fingers to crimp the dough all the way around.
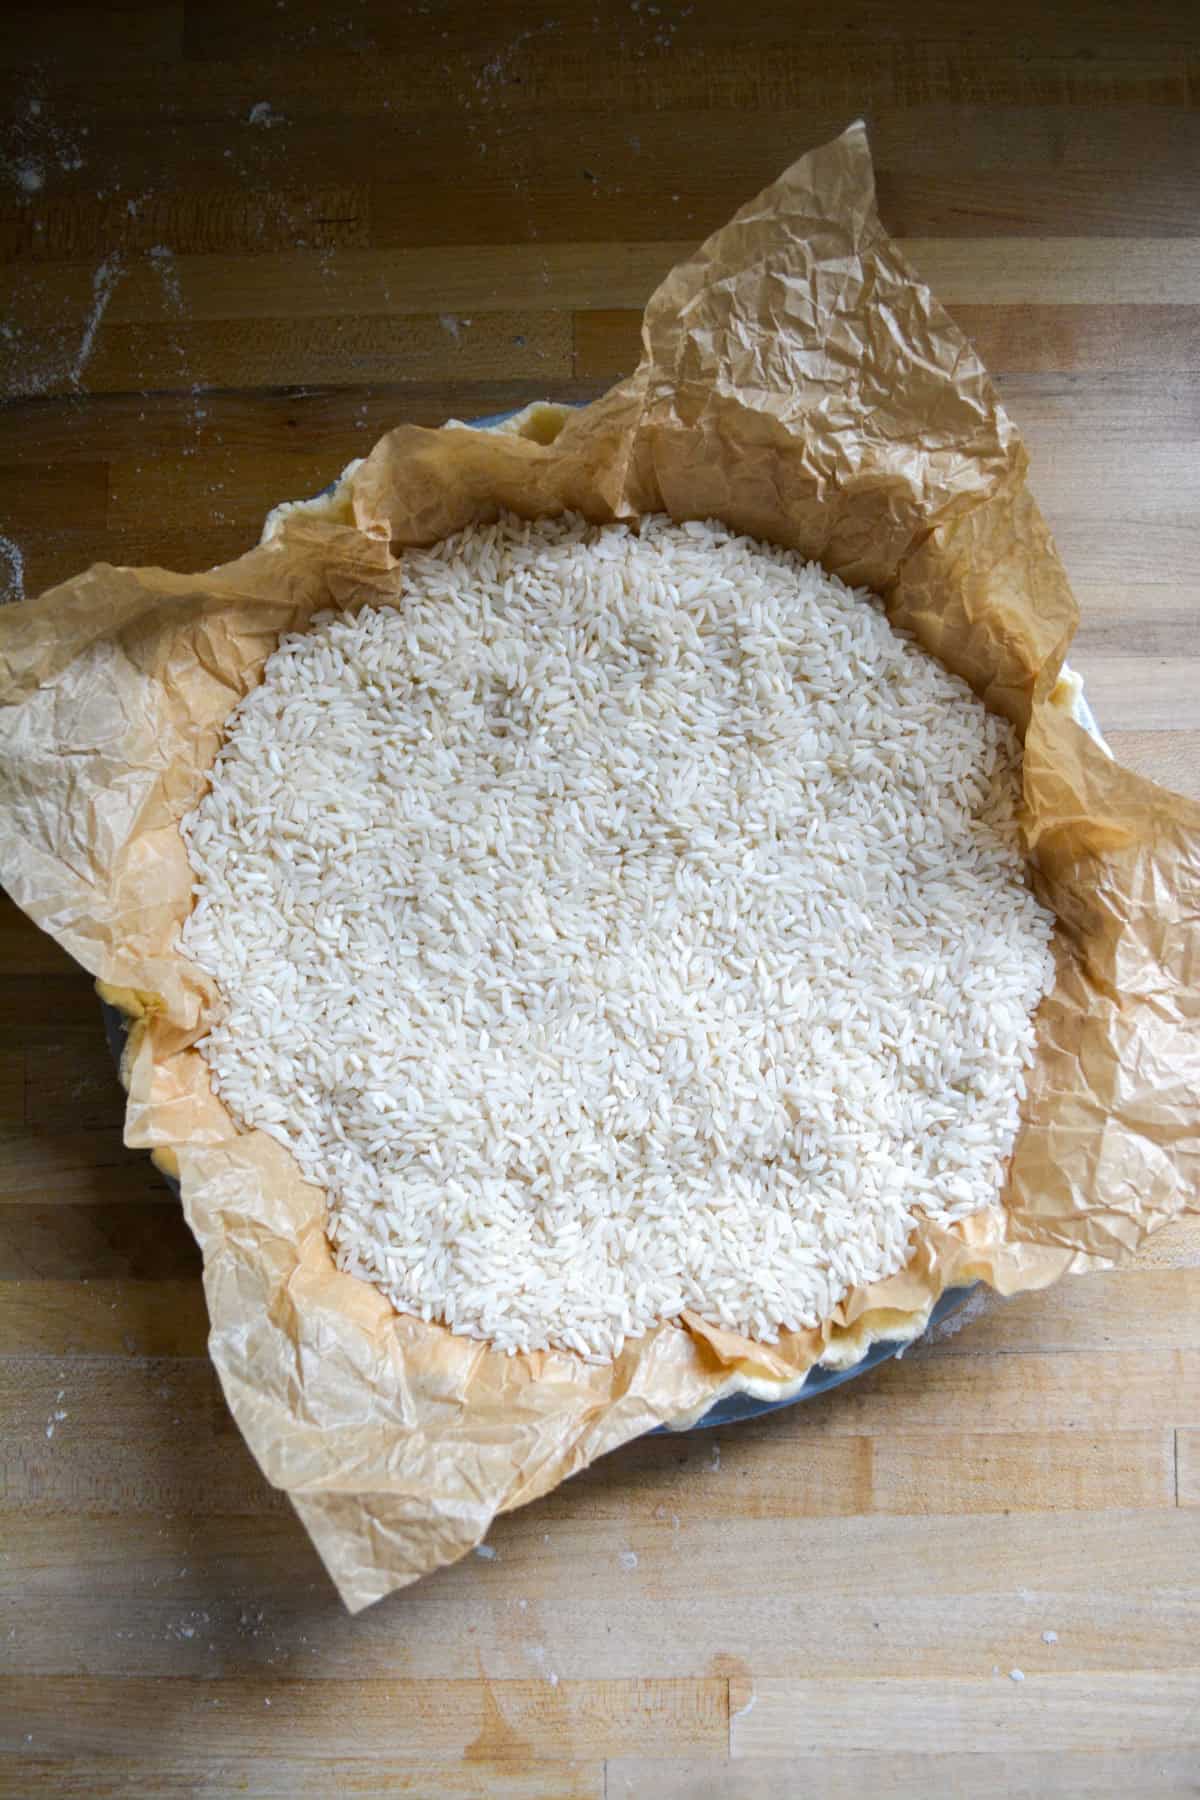
Step 3. Use a fork to prick the bottom of the crust. Then, crumple a piece of parchment in your hands and smooth it back out.
Place the parchment onto the dough and fill it with pie weights or rice.
Step 4. Par-bake the pie crust in a 375°F oven for 10 minutes, then remove the pie weights and continue baking for another 5 minutes.
Allow the crust to cool while you make the filling.
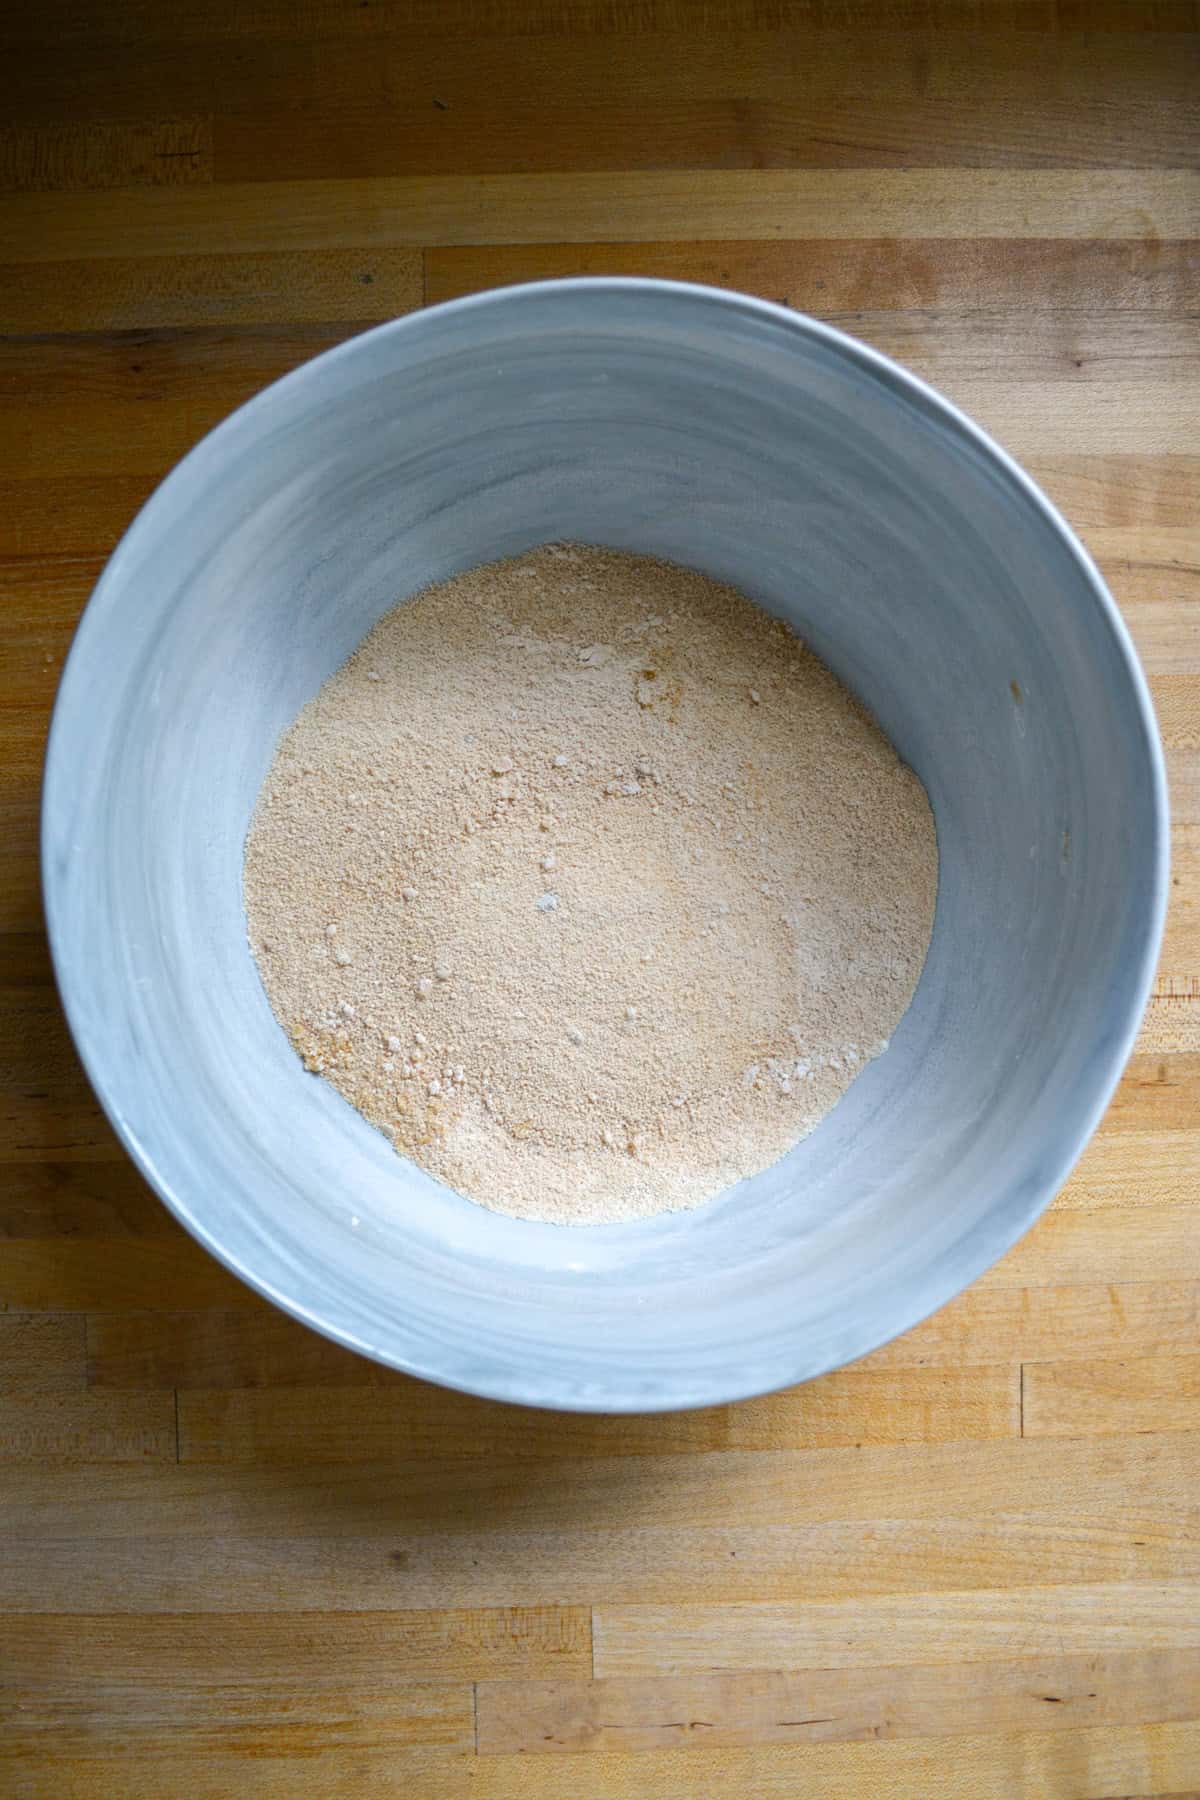
Step 5. First, combine the brown sugar and cornstarch. Stir until no clumps of cornstarch remain.
Then, add the pumpkin puree, coconut milk, non-dairy milk, pumpkin pie spice, vanilla and salt. Stir well with a spatula.
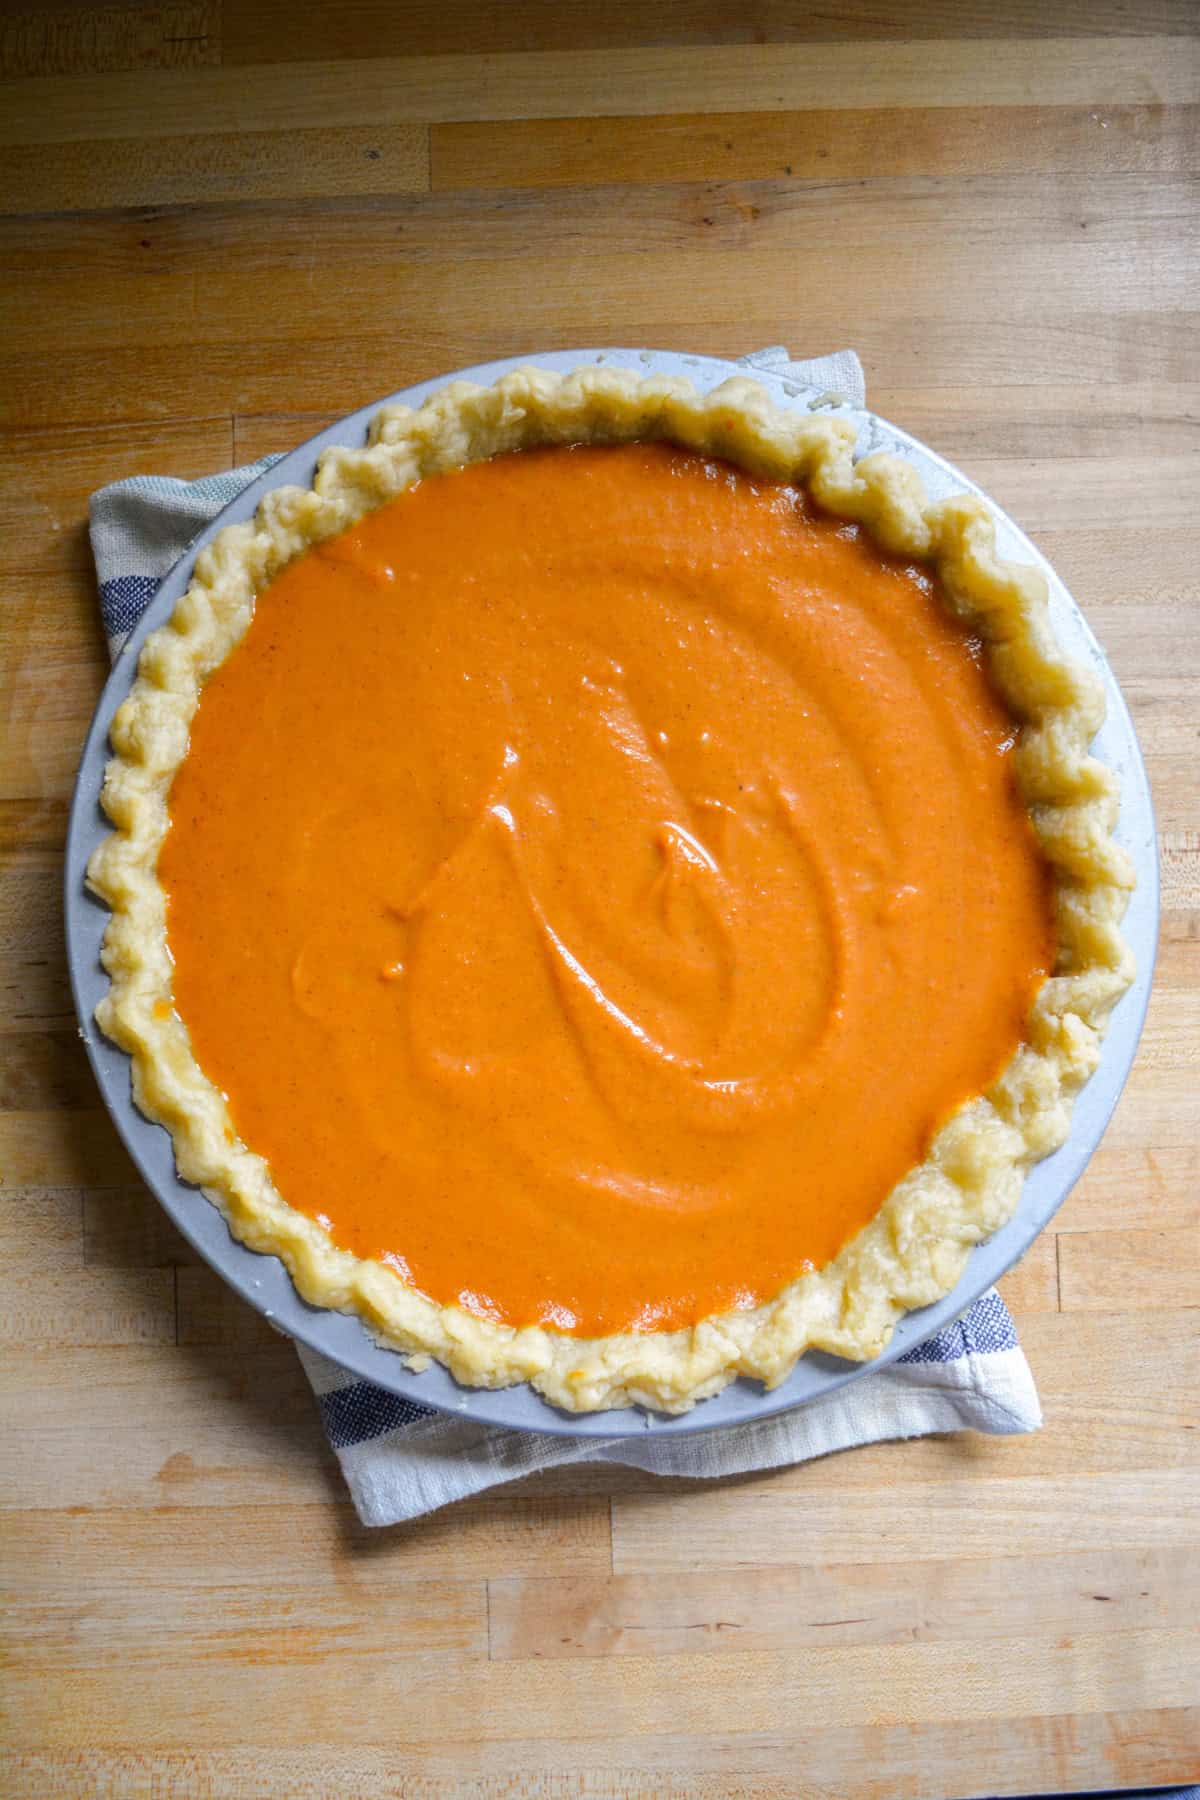
Step 6. Pour the vegan pumpkin pie filling into the par-baked pie crust. Place a pie crust shield over the crust, or use a folded piece of aluminum foil to keep the crust from browning too fast.
Then, bake in a 350°F oven for 65-68 minutes, removing the pie crust shield after 30 minutes. The center will still be jiggly!
Allow the pie to cool, then chill in the refrigerator for at least 4 hours before slicing and serving.
Recipe FAQs
Store the pie in the refrigerator for up to 5 days.
Cornstarch sets the custard in instead of eggs in this pie!
Simple Truth, Wholly Wholesome and Whole Foods 365 all have evgan pie crusts if you don't want to make your own!
Expert Recipe Tips
Do not skip the chill time! It helps to set the Vegan Pumpkin Pie so you get smooth, clean slices.
Be sure to use a pie crust shield, or a folded piece of aluminum foil like I do, to prevent the crust from browning too fast.
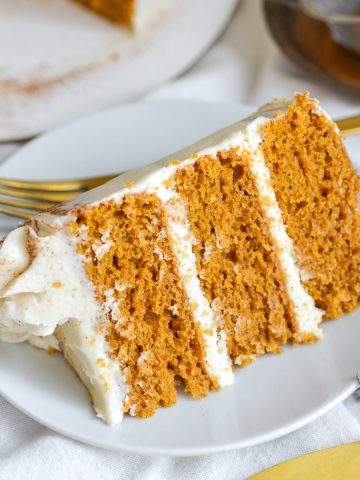
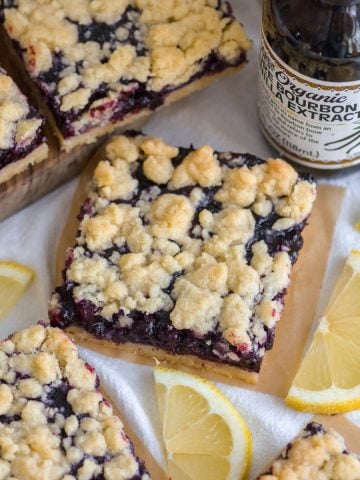
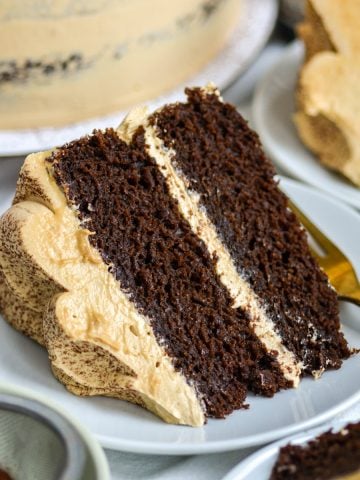
Looking for More Thanksgiving Desserts?
If you tried this Vegan Pumpkin Pie recipe or any other recipe on my website, please leave a 🌟 star rating and let me know how it went in the 📝 comments below. Thanks for visiting today!
📖 Recipe
Vegan Pumpkin Pie
Equipment
- 1 9" Pie Plate
- 1 Large Mixing Bowl
- 1 Whisk
- Pie Weights or Rice
- Parchment Paper
Ingredients
- 1 9" Pie Crust See Note
For the Pumpkin Filling
- ¾ Cup Brown Sugar
- 3 tablespoon Cornstarch
- 2 ¼ Cup Pumpkin Puree
- ⅔ Cup Canned Coconut Milk
- ⅓ Cup Non-Dairy Milk I used oat milk!
- 1 tablespoon Pumpkin Pie Spice
- 2 teaspoon Vanilla Extract
- ½ teaspoon Kosher Salt
Instructions
Par-Bake the Pie Crust
- Preheat oven to 375*F.
- Lightly flour your work surface and roll the pie dough into a circle with a 12-inch diameter. Place the dough into a 9" pie plate, tucking it into the corners at the bottom. Use a fork to lightly prick the bottom of the crust a few times.1 9" Pie Crust
- Crumple a 12x12" piece of parchment between your hands then smooth it back out. Place it onto the pie dough, then fill the pie plate with pie weights or rice. Bake the pie crust in a 375*F oven for 10 minutes, then remove the pie weights and continue baking the crust for 5 more minutes. Allow the crust to cool slightly while you make the filling.
Make the Pumpkin Pie Filling
- Turn the oven temperature down to 350*F.
- In a large bowl, combine the brown sugar and cornstarch. Stir until there are no remaining clumps of cornstarch. Then, add the pumpkin puree, coconut milk, non-dairy milk, pumpkin pie spice, vanilla, and salt. Stir well with a spatula. See note.¾ Cup Brown Sugar, 3 tablespoon Cornstarch, 2 ¼ Cup Pumpkin Puree, ⅔ Cup Canned Coconut Milk, ⅓ Cup Non-Dairy Milk, 1 tablespoon Pumpkin Pie Spice, ½ teaspoon Kosher Salt, 2 teaspoon Vanilla Extract
- Pour the pumpkin filling into the parbaked crust, then place a pie crust shield onto the crust. Or fold aluminum foil around the outer edge to prevent the crust from browning too quickly.
- Bake the pie in a 350*F oven for 65-68 minutes, removing the pie crust shield or aluminum foil after 30 minutes. The pie will still be a little jiggly in the middle, but that is okay.
- Allow the pie to cool for at least 2 hours, then place it into the refrigerator to chill for at least 4 hours or overnight before slicing and serving.
Comments
No Comments